
Making a DIY high transparent epoxy table can be really fun and rewarding project. It let you create something unique that show your own style. With some patience and good materials, you can have a table that look beautiful and also work well. At GOERNER, we know how important it is use quality stuff and know what you doing to make project successful. So lets get into the steps and some tips for make your own amazing epoxy table.
Common Mistakes to Avoid When Making an Epoxy Wood Table
One big mistake people do when make epoxy table is not prepare workspace good. Messy place can cause spills and errors. Always check your table is clean and completely dry. Another thing is measure the epoxy mix wrong. This make the epoxy get hard too fast or maybe not harden at all. You got to follow instruction carefully when mix resin and hardener. Sometime people forget wear gloves and mask, which is danger. Safety come first always. Also important let the epoxy cure full before use the table. If you rush this, it can ruin everything. And don’t forget sand and finish the surface! This step is very crucial for make table smooth and shiny. With these tip, you can avoid common problem and enjoy make your very own epoxy wood table.
Tips for Achieving a Perfect Clear Epoxy Finish
To get perfect finish with high transparent epoxy resin, you need pay attention to detail. First choose clear epoxy resin made for tables. Its better pick high-quality product so it stay clear and strong. When mix resin and hardener, stir slow and good to not make bubble. If bubble appear, use heat gun or torch pop them before resin set. After pour, maybe apply thin layer first. This help seal wood problem and stop bubble in deeper part. Once first layer cure, you can add more layer for more depth.
Sanding is key for smooth result. Use fine sandpaper after each layer cure complete. After sand, clean surface from dust. When you get the smoothness you want, put top coat of clear epoxy. This give brilliant shine. Let final layer cure at least 72 hour. Patience is really key! You want table not just look good but strong and ready use. With this steps, you will have stunning high transparent epoxy table show your creativity. Enjoy your new piece from GOERNER!
What Are the Benefits of Using High Transparent Epoxy in Table Making?
Use high transparent epoxy for table is great choice for many reason. First it look so amazing. When pour epoxy over wood or in mold, it make clear shiny surface that show natural pattern and color of wood below. Every table become unique and pretty. People like how it reflect light, make room feel bright and nice. Also because high transparency, you can put thing inside like stone, shell or flower. This make one-of-kind piece show your personality.
Another good thing about high transparent epoxy is it strong. When hard, it very tough. Your table last long time even daily use. It resist scratch and dent better then normal wood. If spill water or juice, it not soak in and no damage. Easy clean, just wipe with damp cloth and look new again!
High transparent epoxy is waterproof too. Good for outdoor table or place with spill. No worry rain ruin it or drink spill. Plus it resist UV ray, so no fade or color change from sun. Table stay fresh many year.
Finally work with high transparent epoxy is fun creative project. You can mix color, shape, material make something special. At GOERNER we think make your own epoxy table is rewarding. Invite friend or family help, it become fun activity. In end you get beautiful furniture made with your hand!
How to Troubleshoot Common Issues When Casting Epoxy Tables
When start make epoxy tabletops, some problem can happen. But no worry! Most easy fix if know how. One usual issue is bubble in epoxy. Bubble come from mix or pour. They make table look bad. To fix use heat gun or torch warm surface gentle. Heat make bubble rise and pop. Careful not overheat!
Another problem is epoxy not cure good. If too cold or humid, it stay sticky or soft. Work in warm dry place. Best temperature around 70°F (21°C). If after time still not hard, maybe add thin new layer epoxy on top seal it.
Sometime epoxy get cloudy not clear. This happen if mix too fast or dust get in. Mix slow careful. Keep workspace clean no dust. If cloudy, sand down when cure full then apply fresh clear epoxy layer.
Finally if table have sharp edge or rough spot, smooth them easy. When cure full, sand rough area. Start coarse sandpaper then finer for smooth finish. After sand polish with cloth bring shine back. At GOERNER we say these challenge just part of fun make epoxy table. With patience and idea, you create something proud of!
What Trending Designs Can You Create with DIY High Transparent Epoxy Tables?
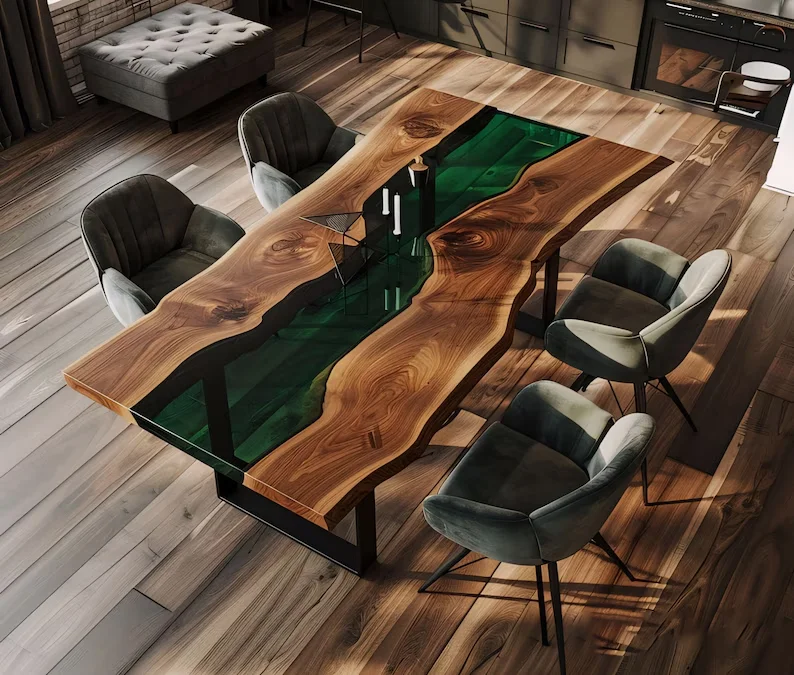
For design your high transparent epoxy table, possibility endless! One popular is use natural wood slab with epoxy. Take nice wood with cool grain, pour clear epoxy around make river effect like stream. Add color pigment make it look water or sunset. Good for coffee or dining table, impress everyone!
Another trend make unique shape. Not just square or round, try leaf, star or any idea! Layer different color epoxy for stunning look. Like blue for water green for land. Table can tell story or show landscape, good conversation starter.
You can put object inside epoxy too. From stone to toy or dried flower. Imagine beach scene with shell and sand inside! This design eye-catching and personal. At GOERNER we say think what mean to you and add in design.
Last you can play with texture and finish. Not always glossy, try matte for rustic feel. Textured surface add interest. Even mix finish on same table! With high transparent epoxy, only limit your imagination. So get material, be creative, enjoy DIY epoxy table world!
Table of Contents
- Common Mistakes to Avoid When Making an Epoxy Wood Table
- Tips for Achieving a Perfect Clear Epoxy Finish
- What Are the Benefits of Using High Transparent Epoxy in Table Making?
- How to Troubleshoot Common Issues When Casting Epoxy Tables
- What Trending Designs Can You Create with DIY High Transparent Epoxy Tables?